
Forums › Swim Courses › Pool Comfort › 202110 Pool Comfort and New Swimmer › Pool Comfort Lesson 2
Please type your comments directly in the reply box - DO NOT copy/paste text from somewhere else into the reply boxes - this will also copy the code behind your copied text and publish that with your reply, making it impossible to read. Our apology for the inconvenience, but we don't see a convenient way of fixing this yet.
-
AuthorPosts
-
October 20, 2021 at 19:38 #32157
Jamee Small
Keymaster21/10/21 Lesson 2: Front Glide and Introduction to Back Float
Intro to Front Glide
Now that the body can be self-supported in a stationary Balanced Position in it’s neutral buoyancy point, we add some momentum for a glide. During this activity, we aim to keep the body in alignment, the spine straight, the neck relaxed and the body lifted through a streamline shape and counter-balance arms. If the spine is aligned, then when force is applied we can move in a straight trajectory.
The force applied should be gentle and smooth at first. As you gain more comfort and confidence, you can curiously explore different levels of force and directions.
If you’d like to face the deep end, we recommend first putting a ground marker (a weighted object) at a depth you are comfortable standing to mark a visual when to stop and stand so you don’t travel farther than you intend.
Front Glide Lesson
Aim to maintain the same level of relaxation you gained in the Balance Position. Start by systematically creating the ideal shape, engage the abdomen by lengthening the spine and then relaxing the head.
Front Glide Drills:
- Balance Position Rehearsal
- Balance Position
- Ground Push-Off
- Wall Push-Off
Front Glide Cues
- Arms at Target Depth
- Weightless Head
- Lengthen the Spine (Engage lower abdomen with ‘Tippy-Toes’)
- Narrow, Torpedo Fin Legs
- Feel Water Move Across the Skin
- Feel the Momentum Lift the Body
Intro to Back Float (with Support)
The Supine Position is usually the most vulnerable postures. It is also one of the most useful and potentially life saving positions to have in your tool box of swim skills. Much like you experience in the Balance Position, the more you relax and create a long narrow vessel the body will lift and balance in the water better.
Once you experience calm and relaxation repeatedly, take a moment to observe how your body feels while its floating. What does the water feel like as it surrounds and supports you. Just make simple observations and relax in the knowledge that both your body and the water are supporting you.
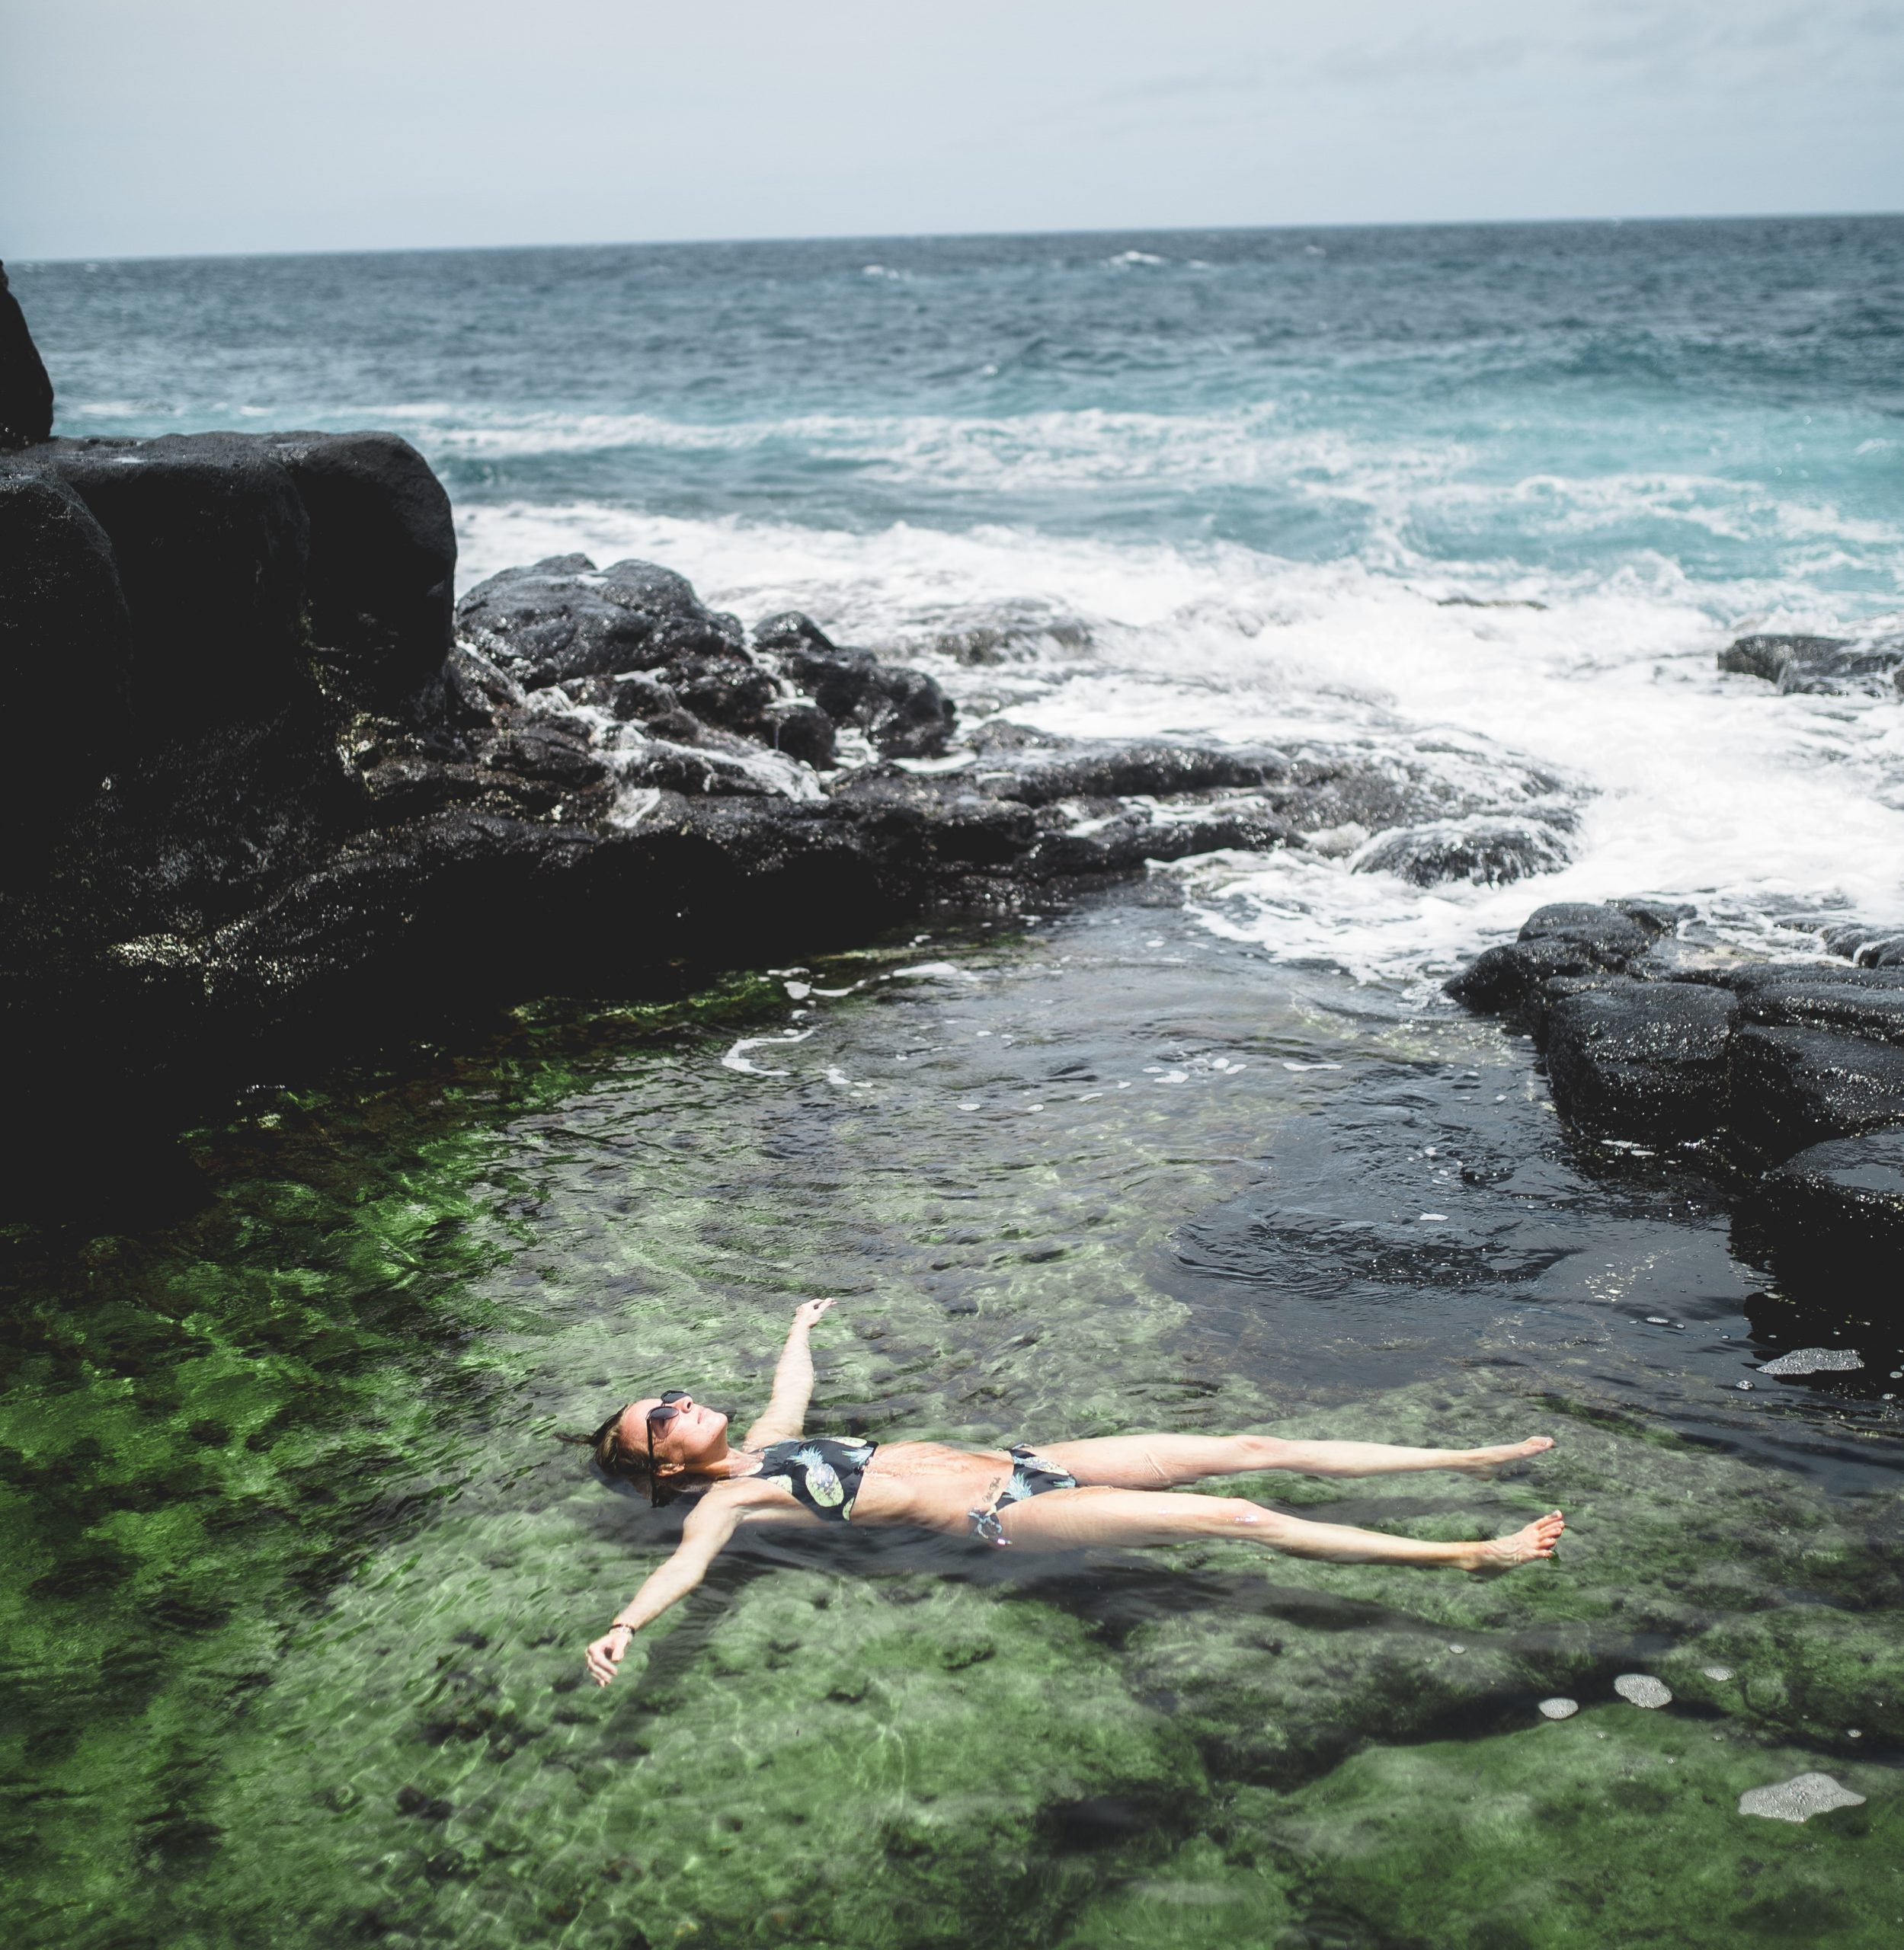
To gently enter the back float position, whether with or without support, follow the mantra “Head Back, Chest Back, Pelvis-Up.”
The goal is to find the same neutral zone for the body’s alignment to rest in the water. If the body tucks in on itself in a fetal position, the body will sink. If the body tenses and bows back like a bride, the head will submerge and legs sink. Much like the Balance Position, it is a delicate balance of relaxing certain parts (i.e. the neck and arms) and engaging others (i.e. the lower abdomen).
Remember your strategic breathing technique on the back: Quick sip in through the mouth and a long exhale out the nose. This will decrease the opportunity for disrupted water from going up the nose.
Back Float Lesson
Using a pool noodle can help you stay a float while focusing on both shape and relaxation and be fully supported. Below is a progression of working with and slowly off the noodle to solo float.
- Noodle under back of knees and lower back and neck.
- Noodle under neck and lower back
- Noodle under lower back
- No noodle, hand on lane line/ladder/wall
- No support structure, gentle flutter to keep legs lifted
*If you have the option, use a thin pool noodles over thick pool noodles.
Back Position Drill
- Shoulders deep, “head back, chest back, pelvis up”
- Supine Position Recovery
- Briefly dip the head and hold breath while head submerges. Hold Breath. Clear the airways at the head resurfaces.
Back Position Cues
- Head Back, Chest Back, Pelvis Up
- Relax the head on a “Pillow” of water
- Release arms to float in a “Y” above the head
- Lengthen the spine (with “Tippy Toes”)
- Lift pelvis towards the ceiling
- Add a gentle flutter kick if the legs sink
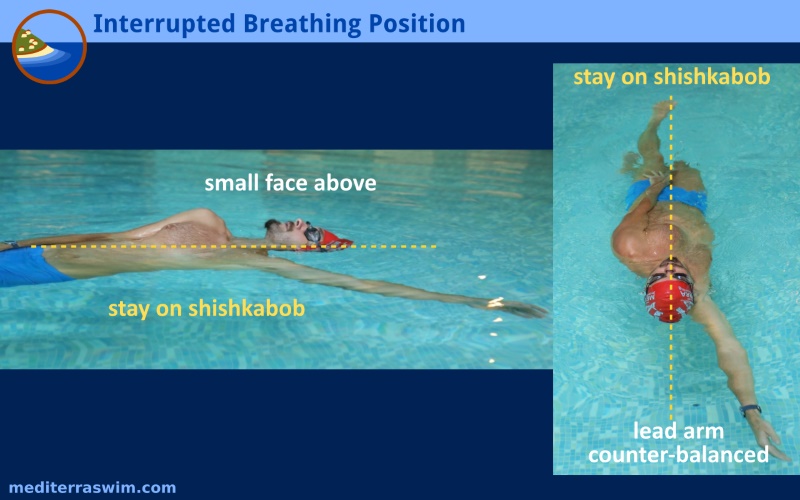
When you feel more comfortable with Supine Position without a support, you may explore the Interrupted Breathing Position, where one arm is in your “pocket,” the other is above the head and under the water, and the body is slightly rotated to balance.
Supine Focal Points
- Relax the head and neck (as if laying it on a pillow)
- Long, straight spine
- Engage lower abdomen (as if on tippy toes)
- Chest and Shoulders straight but relaxed (avoid arching up or curving in)
- Pelvis up (press hips towards the ceiling)
- Hips straight
- Legs straight and narrow behind the body
- Take calming, Diaphragmatic Breath
October 23, 2021 at 11:55 #32187Sue Settelmeyer
ParticipantNow I see this. There wasn’t a reply box on lesson 1. Yes, I’m still spending time there.
-
AuthorPosts
- You must be logged in to reply to this topic.